Step 4: Fill in the Design
Using a paintbrush, carefully fill in the sections of your design with the colored glue mixture. Be sure to stay within the lines you traced earlier, and apply the glue evenly to avoid any bubbles or inconsistencies. You can get creative with your color choices, and even blend colors together for added depth and dimension. Allow the glue to dry completely before moving on to the next step.
Step 5: Display Your Artwork
Like DIY Everywhere – Arts & Crafts for more
Once your faux stained glass masterpiece is completely dry, you’re ready to display it! You can choose to frame your artwork, hang it in a window using suction cups, or incorporate it into other craft projects. The light will shine through the colored glue, creating a beautiful effect that mimics the look of authentic stained glass.
Here are some other projects we did using this technique:
Like DIY Everywhere – Arts & Crafts for more
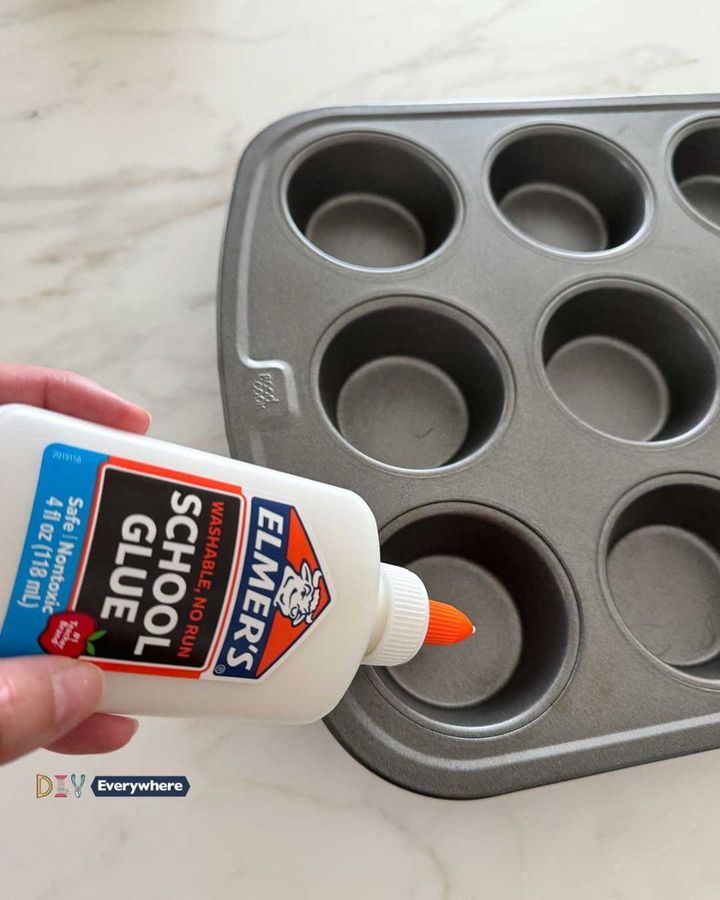
In conclusion, using Elmer’s glue to create faux stained glass is a fun and rewarding project that allows you to unleash your creativity and achieve stunning results. With a little effort and a few simple steps, you can transform everyday materials into a work of art that is sure to impress. Whether you’re a seasoned crafter or a beginner looking to try something new, this DIY project is sure to become a favorite.
